Homemade Almond Joy Truffles: A Decadent Treat for Coconut and Chocolate Lovers
If you’re a fan of Almond Joy and Mounds bars, you’re going to adore these homemade almond joy truffles. These bite-sized treats combine the rich flavors of coconut, chocolate, and almonds into a decadent dessert that’s perfect for any occasion. Whether you’re hosting a party, looking for a sweet gift, or simply craving a homemade treat, these truffles are sure to impress. With a creamy coconut filling, a crunchy almond center, and a smooth chocolate coating, these truffles are a delightful blend of textures and flavors.
Making these almond joy truffles at home is easier than you might think. With just a handful of ingredients and minimal prep time, you can create a dessert that rivals store-bought candy bars. Plus, you can customize the recipe to suit your preferences, whether you want to add extra almonds, use dark chocolate instead of milk chocolate, or even make them dairy-free. These truffles are not only delicious but also a fun and rewarding project for bakers of all skill levels.
Quick Recipe Highlights
- Flavor Profile: A perfect balance of sweet coconut, rich chocolate, and nutty almonds.
- Texture: Creamy coconut filling with a crunchy almond center, all coated in smooth chocolate.
- Aroma: The irresistible scent of toasted coconut and melted chocolate will fill your kitchen.
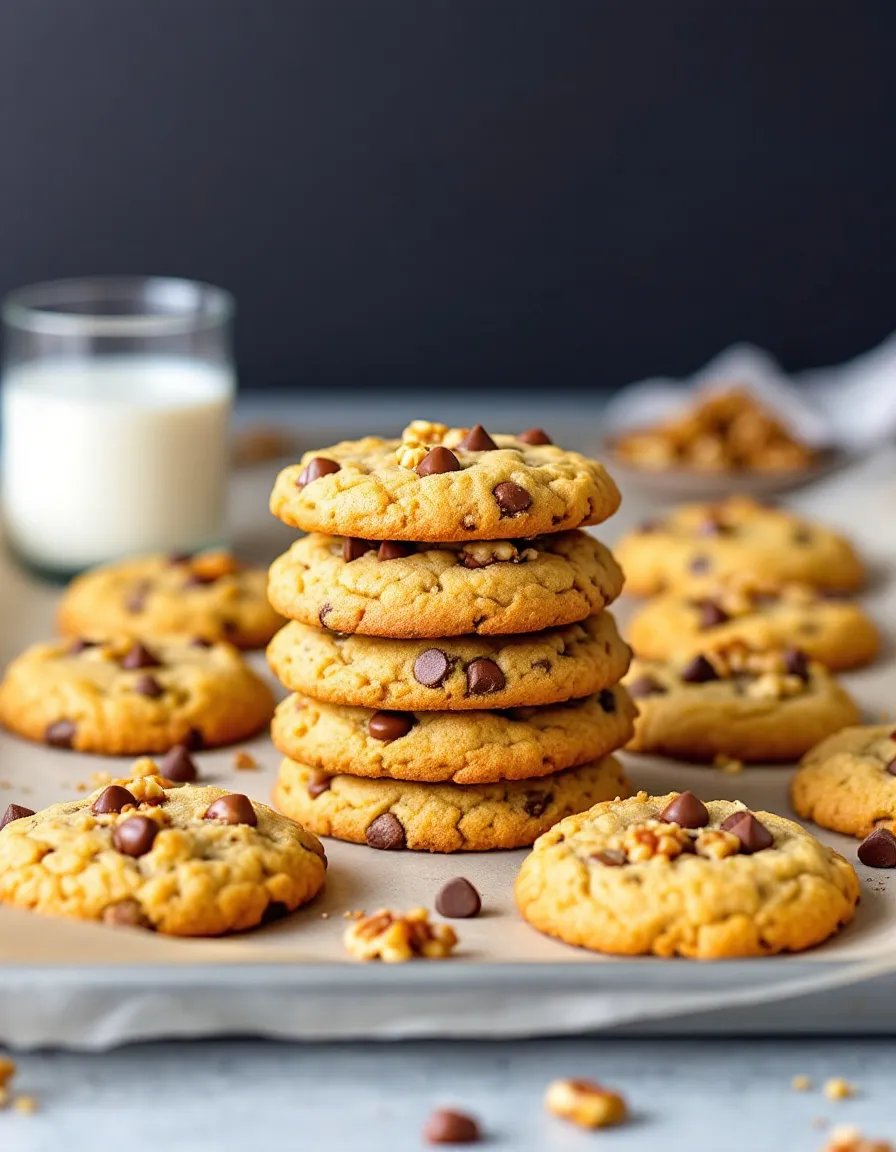
- Visual Appeal: These truffles are beautifully glossy and perfect for gifting or serving at parties.
- Skill Level Needed: Beginner-friendly with simple steps and no special equipment required.
- Special Equipment: Just a mixing bowl, baking sheet, and microwave or double boiler for melting chocolate.
Recipe Overview
- Difficulty Level: This recipe is easy to follow, making it ideal for beginners. The steps are straightforward, and the ingredients are easy to find.
- Category: Dessert, Candy, Sweet Treat.
- Cuisine: Inspired by American candy bars, these truffles are a homemade twist on a classic favorite.
- Cost: Affordable, with most ingredients being pantry staples or easily available at grocery stores.
- Season: Perfect year-round, but especially great during the holiday season for gifting.
- Occasion: Ideal for parties, potlucks, or as a homemade gift for friends and family.
Why You’ll Love This Recipe
These homemade almond joy truffles are a must-try for anyone who loves the combination of coconut, chocolate, and almonds. The creamy coconut filling is sweet and satisfying, while the crunchy almond adds a delightful contrast in texture. The smooth chocolate coating ties everything together, creating a treat that’s both indulgent and irresistible.
One of the best things about this recipe is its convenience. With just 20 minutes of prep time and 10 minutes of cooking, you can have a batch of these truffles ready to enjoy. They’re perfect for busy bakers who want to whip up something special without spending hours in the kitchen. Plus, they’re easy to customize, so you can make them exactly how you like them.
From a nutritional standpoint, these truffles are a treat, but they can be made healthier with a few simple swaps. Use dark chocolate for a richer flavor and added antioxidants, or opt for unsweetened coconut to reduce the sugar content. Almonds provide a good source of healthy fats and protein, making these truffles a slightly more balanced indulgence.
These truffles are also a great option for entertaining. They’re bite-sized, easy to serve, and always a hit with guests. Whether you’re hosting a holiday party or just having friends over for coffee, these truffles are sure to impress. Plus, they’re a thoughtful homemade gift that shows you care.
Finally, these truffles are cost-effective and accessible. The ingredients are affordable and easy to find, making this recipe a great option for anyone on a budget. You don’t need any special equipment or hard-to-find ingredients, so you can make these truffles anytime the craving strikes.
Historical Background and Cultural Significance
The Almond Joy and Mounds candy bars have been beloved treats in the United States for decades. Almond Joy, introduced in 1946, features coconut and almonds coated in milk chocolate, while Mounds, which dates back to the 1920s, offers a similar combination but without the almonds. These candies have become iconic, representing the perfect blend of sweet and nutty flavors.
The homemade version of these treats, like these almond joy truffles, allows bakers to recreate the classic flavors in their own kitchens. This recipe pays homage to the original candy bars while offering the flexibility to customize the ingredients and presentation. It’s a fun way to celebrate a piece of American culinary history while putting your own spin on a classic.
Over the years, variations of these treats have emerged, with bakers experimenting with different types of chocolate, nuts, and fillings. This recipe is a modern take on the traditional candy bars, offering a homemade alternative that’s just as delicious but with the added satisfaction of making it yourself.
Ingredient Deep Dive
Shredded Coconut
Shredded coconut is the star of this recipe, providing the creamy, sweet filling that defines these truffles. Coconut has a rich history, originating in tropical regions and becoming a staple in many cuisines worldwide. It’s packed with healthy fats, fiber, and essential nutrients like manganese and copper. When selecting shredded coconut, opt for unsweetened varieties to control the sweetness of your truffles. Store it in an airtight container in a cool, dry place to maintain freshness.
Almonds
Almonds add a satisfying crunch and nutty flavor to these truffles. They’re a great source of protein, healthy fats, and vitamin E. For this recipe, whole almonds work best, but you can also use slivered almonds if preferred. To enhance their flavor, toast the almonds lightly before using them. Store almonds in an airtight container in the pantry or refrigerator to keep them fresh.
Chocolate
The chocolate coating is what ties these truffles together, providing a smooth, rich finish. You can use milk chocolate, dark chocolate, or even white chocolate, depending on your preference. Dark chocolate offers a deeper flavor and added health benefits, while milk chocolate is sweeter and more traditional. When melting chocolate, use a double boiler or microwave in short intervals to avoid burning. Store chocolate in a cool, dry place to prevent it from melting or developing a white bloom.
Common Mistakes to Avoid
- Overheating the chocolate: Melt chocolate slowly to avoid burning or seizing.
- Using sweetened coconut: This can make the truffles overly sweet. Opt for unsweetened coconut instead.
- Skipping the almond toast: Toasting the almonds enhances their flavor and adds a nice crunch.
- Not chilling the filling: Make sure the coconut mixture is firm before shaping into balls.
- Rushing the coating process: Take your time to ensure each truffle is evenly coated in chocolate.
- Using stale ingredients: Fresh coconut and almonds are key to the best flavor.
- Overcrowding the baking sheet: Leave space between truffles to prevent them from sticking together.
- Storing at room temperature: Keep truffles refrigerated to maintain their shape and freshness.
Essential Techniques
Melting Chocolate
Melting chocolate is a key step in this recipe. Use a double boiler or microwave in short intervals, stirring frequently to ensure even melting. Avoid overheating, as this can cause the chocolate to seize or burn. If the chocolate becomes too thick, add a small amount of coconut oil to smooth it out.
Shaping the Truffles
Once the coconut mixture is chilled, use a small cookie scoop or your hands to shape it into balls. Press an almond into the center of each ball, then roll it gently to ensure it’s evenly coated. This step requires a bit of patience, but the result is worth it.
Coating the Truffles
Dip each truffle into the melted chocolate, using a fork to ensure even coverage. Let the excess chocolate drip off before placing the truffle on a parchment-lined baking sheet. For a professional finish, use a toothpick to smooth out any imperfections.
Pro Tips for Perfect Almond Joy Truffles
- Toast the almonds lightly for extra flavor.
- Chill the coconut mixture thoroughly before shaping.
- Use a cookie scoop for evenly sized truffles.
- Work quickly when coating the truffles to prevent the chocolate from setting too soon.
- Add a pinch of salt to the coconut mixture to balance the sweetness.
- Experiment with different types of chocolate for unique flavor profiles.
- Store truffles in an airtight container in the refrigerator for up to a week.
Variations and Adaptations
Regional Variations
In some regions, bakers add a touch of rum or almond extract to the coconut mixture for extra flavor. Others use different nuts, like pecans or hazelnuts, in place of almonds.
Seasonal Adaptations
For a festive twist, add a sprinkle of crushed peppermint or a drizzle of white chocolate during the holiday season. You can also use colored sprinkles or edible glitter for special occasions.
Dietary Modifications
To make these truffles vegan, use dairy-free chocolate and ensure all other ingredients are plant-based. For a low-carb version, use sugar-free chocolate and unsweetened coconut.
Serving and Presentation Guide
Serve these truffles on a decorative platter or in mini cupcake liners for a polished look. Garnish with a sprinkle of shredded coconut or a drizzle of melted chocolate for added visual appeal. These truffles are best served chilled, so keep them refrigerated until ready to serve.
Wine and Beverage Pairing
Pair these truffles with a glass of red wine, such as a Merlot or Cabernet Sauvignon, for a sophisticated dessert experience. For a non-alcoholic option, try them with a cup of coffee or hot chocolate.
Storage and Shelf Life
Store these truffles in an airtight container in the refrigerator for up to a week. For longer storage, freeze them in a single layer on a baking sheet, then transfer to a freezer-safe container. Thaw in the refrigerator before serving.
Make Ahead Strategies
You can prepare the coconut mixture up to two days in advance and store it in the refrigerator. Shape and coat the truffles the day you plan to serve them for the best texture and flavor.
Scaling Instructions
This recipe can easily be doubled or halved depending on your needs. If doubling, make sure you have enough space in your refrigerator to chill the truffles before coating.
Nutritional Deep Dive
Each truffle contains a balance of healthy fats from the coconut and almonds, along with a small amount of protein. While they are a treat, they can be made slightly healthier by using dark chocolate and unsweetened coconut.
Dietary Adaptations
Gluten-Free
This recipe is naturally gluten-free, making it a great option for those with gluten sensitivities.
Vegan
Use dairy-free chocolate and ensure all other ingredients are plant-based to make these truffles vegan-friendly.
Low-Carb
Opt for sugar-free chocolate and unsweetened coconut to reduce the carb content of these truffles.
Troubleshooting Guide
- If the coconut mixture is too sticky, chill it longer or add a bit more powdered sugar.
- If the chocolate coating is too thick, add a small amount of coconut oil to thin it out.
- If the truffles are too soft, refrigerate them for a longer period before serving.
Recipe Success Stories
Many bakers have shared their success with this recipe, praising its simplicity and delicious results. Some have added their own twists, like using different nuts or adding a hint of espresso powder for a mocha flavor.
Frequently Asked Questions
Can I use sweetened coconut?
Yes, but the truffles will be sweeter. For a balanced flavor, unsweetened coconut is recommended.
Can I freeze these truffles?
Yes, they freeze well. Store in a single layer in a freezer-safe container for up to three months.
Can I use a different type of nut?
Absolutely! Pecans, hazelnuts, or even macadamia nuts work well in this recipe.
Additional Resources
For more dessert inspiration, check out our recipes for chocolate coconut macaroons and almond butter cups. These treats are perfect for anyone who loves the combination of chocolate and nuts.
Join the Conversation
Share your almond joy truffle creations on social media using the hashtag #HomemadeAlmondJoy. We’d love to see your variations and hear your tips for making these truffles even better!
The Recipe
Homemade Almond Joy Truffles
Serves: 24 truffles
Prep Time: 20 mins
Cook Time: 10 mins
Total Time: 30 mins
Kitchen Equipment Needed
- Mixing bowl
- Baking sheet
- Parchment paper
- Double boiler or microwave
Ingredients
- 2 cups shredded coconut
- 1/2 cup powdered sugar
- 3 tbsp sweetened condensed milk
- 24 whole almonds
- 1 1/2 cups chocolate chips
- 1 tbsp coconut oil (optional)
Directions
- In a mixing bowl, combine shredded coconut, powdered sugar, and sweetened condensed milk. Mix until well combined.
- Chill the mixture in the refrigerator for 15-20 minutes, or until firm.
- Using a small cookie scoop or your hands, shape the mixture into 24 balls. Press an almond into the center of each ball and roll gently to ensure it’s evenly coated.
- Melt the chocolate chips in a double boiler or microwave, stirring frequently until smooth. Add coconut oil if needed to thin the chocolate.
- Dip each truffle into the melted chocolate, using a fork to ensure even coverage. Let the excess chocolate drip off before placing the truffle on a parchment-lined baking sheet.
- Chill the truffles in the refrigerator until the chocolate is set, about 10 minutes.
- Serve and enjoy!
Recipe Notes
- For a dairy-free version, use dairy-free chocolate and coconut milk instead of sweetened condensed milk.
- Store truffles in an airtight container in the refrigerator for up to a week.