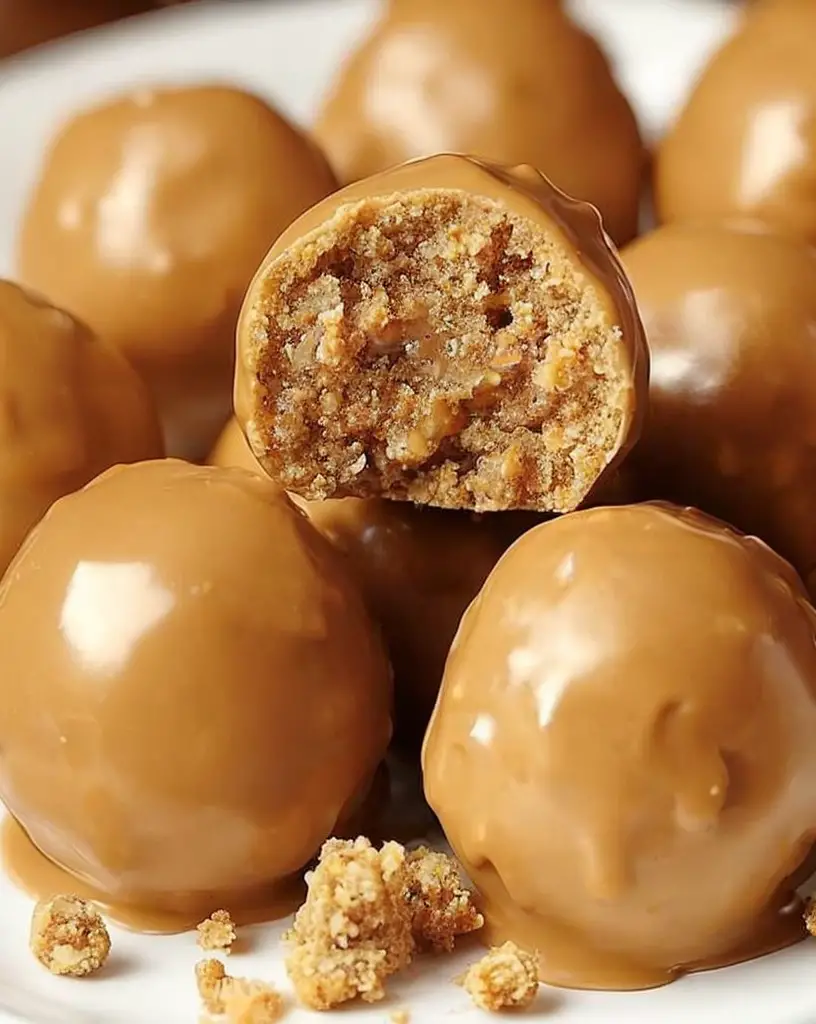
Butterfinger Balls: Irresistibly Sweet and Crunchy Treats
Welcome to a delicious adventure with Butterfinger Balls, a treat that combines the perfect blend of sweetness and crunch. These delightful confections are perfect for any occasion, offering a burst of flavor inspired by the beloved candy bar, ensuring that sweet-tooth satisfaction is just a bite away.
Why You’ll Love This Recipe
The Butterfinger Balls recipe is a delightful addition to your dessert repertoire. Their bite-sized nature makes them easy to serve at parties, and the rich, nutty flavor is balanced with just the right amount of sweetness. Whether you’re making them for a family gathering or as a special treat for yourself, these no-bake snacks are sure to impress.
One of the unique aspects of this recipe is the textural contrast. The creamy interior paired with a crispy outer coating makes these balls a sensory delight. Perfect for chocolate and peanut butter lovers, they offer a comforting and nostalgic taste profile reminiscent of a cherished childhood candy.
Context/Background
The origin of Butterfinger Balls is rooted in creativity, inspired by the iconic Butterfinger candy bar. This recipe transforms the classic flavors into an easy-to-make treat that requires no baking, making it accessible for even novice chefs. The technique of combining crushed candy bars with a creamy base allows for a quick dessert that maintains the candy’s signature crunch.
Recipe Details
Serves: 24
Prep Time: 15 minutes
Cook Time: 0 minutes
Total Time: 1 hour (including chilling)
Ingredients
- 1 1/2 cups crushed Butterfinger candy bars
- 1 cup creamy peanut butter
- 1/2 cup powdered sugar
- 1/2 cup softened butter
- 1 tsp vanilla extract
- 12 oz chocolate chips
Directions
- In a large bowl, combine the Butterfinger crumbs, peanut butter, powdered sugar, softened butter, and vanilla extract until well blended.
- Roll the mixture into 1-inch balls and place them on a lined baking sheet.
- Freeze the balls for about 30 minutes to firm them up.
- In a microwave-safe bowl, melt the chocolate chips in 30-second intervals, stirring in between, until smooth.
- Dip each ball into the melted chocolate, allowing any excess to drip off, and return them to the lined baking sheet.
- Refrigerate the chocolate-coated balls until the chocolate has set, about 15 minutes.
Tips for Perfect Butterfinger Balls
- Ensure the peanut butter is at room temperature for easier mixing.
- Use a food processor to crush the Butterfinger bars evenly.
- Chill the balls well before dipping to prevent them from falling apart.
- Work quickly with the melted chocolate to get an even coating.
Serving Suggestions
Serve Butterfinger Balls chilled as part of a dessert platter at parties, or enjoy them as a quick after-dinner treat with a cup of coffee or tea.
Storage and Leftovers
Store Butterfinger Balls in an airtight container in the refrigerator for up to one week. They can also be frozen for up to two months for a longer shelf life. Thaw in the refrigerator before serving.
Final Thoughts
Butterfinger Balls are a must-try for anyone who loves the combination of chocolate and peanut butter. With their simple ingredients and quick preparation, they are bound to become a favorite in your home. Share them with friends or enjoy them as a personal indulgence, and savor each delicious bite!
Recipe Notes
- For a variation, try using crunchy peanut butter for added texture.
- You can substitute almond or cashew butter for a different flavor profile.
- Consider adding a pinch of sea salt on top of each ball for a salty-sweet contrast.


