There’s something so nostalgic about cream cheese mints—those delicate little pastel bites that seem to whisper of bridal showers, holiday gatherings, and grandmothers’ well-loved recipe boxes. I remember the first time I tasted one at a baby shower years ago, perched on a dainty lace doily. The moment that cool, creamy sweetness hit my tongue, I was smitten. And when I discovered just how easy they were to make? Well, let’s just say my cookie tray has never been the same since.
The Ingredients: Simple, Sweet, and Oh-So-Satisfying
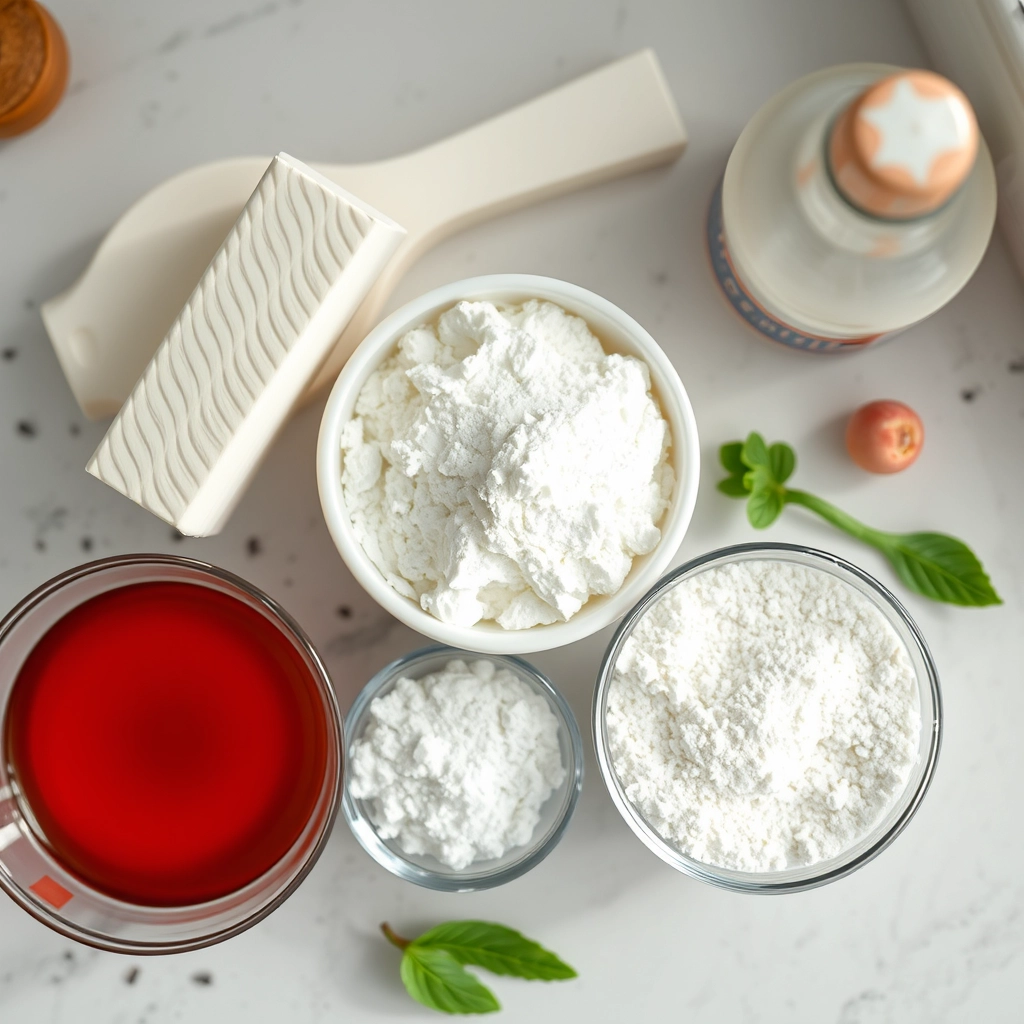
What I adore about this recipe is how few ingredients it takes to create something so delightfully special. Here’s what you’ll need:
- Cream cheese (4 oz, softened) – The star of the show! Full-fat is best here for that luscious texture.
- Butter (2 tbsp, softened) – Just a touch for richness. Salted or unsalted both work—I prefer salted for a subtle contrast.
- Peppermint extract (1/2 tsp) – The classic flavor, but don’t be afraid to experiment (more on that later!).
- Powdered sugar (4 cups) – This builds the structure and sweetness. Sift it first to avoid lumps!
- Food coloring (optional) – A drop or two of pastel gel coloring makes them as pretty as they are tasty.
- Granulated sugar (for rolling) – That final sparkling touch.
Step-by-Step: Making Little Bites of Joy
- Blend the base: In a large bowl, beat the cream cheese and butter together until completely smooth. Scrape down the sides—this ensures no stubborn lumps hide in the corners.
- Flavor it up: Mix in the peppermint extract. If using food coloring, add it now and stir until evenly distributed. (Pro tip: Gel coloring gives vibrant hues without thinning the mixture.)
- Sweeten the deal: Gradually add the powdered sugar, about a cup at a time, mixing well after each addition. The dough will become thick and slightly stiff—this is perfect!
- Shape with love: Pinch off small pieces (about 1 tsp each) and roll into balls. For uniformity, I use a mini cookie scoop. Then, roll each ball in granulated sugar and flatten gently with a fork or the bottom of a glass.
- Chill out: Arrange the mints on a parchment-lined tray and refrigerate for at least 1 hour. This firms them up beautifully and lets the flavors meld.
As you work, don’t worry if the dough feels sticky—dusting your hands with powdered sugar helps immensely. And if you’re feeling fancy, press a tiny edible flower or sprinkle into the center of each mint before chilling. Pure edible elegance!
Pro Tips, Variations, and Substitutions
Making cream cheese mints is wonderfully simple, but a few little tricks can take them from good to extraordinary. Here are some of my favorite ways to customize them:
- Flavor Boost: Add a drop or two of peppermint, orange, or almond extract for a fun twist.
- Colorful Fun: Use gel food coloring for vibrant hues—pastels are perfect for baby showers, and bold colors shine at holidays.
- Dairy-Free Option: Swap the cream cheese for dairy-free cream cheese and ensure your powdered sugar is vegan-friendly.
- Texture Play: For a slightly firmer mint, add an extra ¼ cup of powdered sugar. For a softer bite, reduce it slightly.
What to Serve With Cream Cheese Mints
These little delights are perfect on their own, but they also pair beautifully with:
- A cup of hot tea or coffee for an afternoon pick-me-up.
- A dessert charcuterie board alongside chocolate truffles and fresh berries.
- Wedding or baby shower buffets—they’re a classic for a reason!
- Holiday cookie platters for a refreshing contrast to rich, spiced treats.
Storage and Reheating Tips
To keep your mints fresh and delicious:
- Storage: Store in an airtight container in the fridge for up to two weeks. For longer storage, freeze them for up to three months.
- Serving: Let chilled mints sit at room temperature for 10 minutes before serving for the best texture.
- Reviving: If they dry out slightly, a quick knead with a splash of cream or milk can bring them back to life.
Frequently Asked Questions
Can I make these mints ahead of time?
Absolutely! They actually taste better after resting in the fridge for a day, allowing the flavors to meld.
Why are my mints too sticky?
If the dough feels too soft, simply knead in a bit more powdered sugar until it’s workable. Humidity can affect the texture, so adjust as needed.
Can I use a cookie cutter instead of a mint mold?
Yes! Roll the dough thin and use small cookie cutters for fun shapes. Just dust them lightly with powdered sugar to prevent sticking.
Are these mints gluten-free?
They sure are—just double-check that your powdered sugar is certified gluten-free if needed.
A Sweet Final Thought
There’s something so special about homemade cream cheese mints—their delicate texture, their melt-in-your-mouth sweetness, and the way they bring a touch of nostalgia to any occasion. Whether you’re making them for a celebration or just because, I hope these little treats bring as much joy to your kitchen as they have to mine. Happy mint-making!
PrintCream Cheese Mints
Description
Easy-to-make cream cheese mints with a smooth texture and refreshing flavor.
Ingredients
For the Crust:
- 4 oz cream cheese, softened
- 2 cups powdered sugar
- 1/2 tsp peppermint extract
- Food coloring (optional)
- Granulated sugar for coating
Instructions
1. Prepare the Crust:
- In a mixing bowl, beat the softened cream cheese until smooth.
- Gradually add powdered sugar and peppermint extract, mixing until well combined.
- If desired, add a few drops of food coloring and mix until evenly distributed.
- Roll the mixture into small balls (about 1 tsp each).
- Roll each ball in granulated sugar and flatten slightly with a fork.
- Place mints on a parchment-lined tray and refrigerate for at least 1 hour before serving.
Notes
You can customize the seasonings to taste.