The Easiest and Cheapest Bread Recipe: Perfect Homemade Loaf Every Time
There’s nothing quite like the aroma of freshly baked bread filling your kitchen. This easiest and cheapest bread recipe delivers a golden, crusty loaf with minimal effort and cost. Perfect for beginners or seasoned bakers looking for a no-fuss homemade bread, this recipe requires just four basic ingredients and no special equipment.
Imagine pulling a warm, rustic loaf from your oven with a crisp exterior and soft, airy interior. This simple homemade bread pairs beautifully with soups, makes excellent toast, and costs pennies compared to store-bought alternatives. The satisfaction of baking your own bread is unmatched, and with this foolproof method, you’ll achieve bakery-quality results every time.
Quick Recipe Highlights
- Flavor Profile: Mild wheat flavor with subtle sweetness from fermentation, perfect for pairing with both sweet and savory toppings.
- Texture: Crispy golden crust with a soft, slightly chewy interior and open crumb structure.
- Aroma: Heavenly yeasty fragrance with warm, toasty notes that fill your kitchen as it bakes.
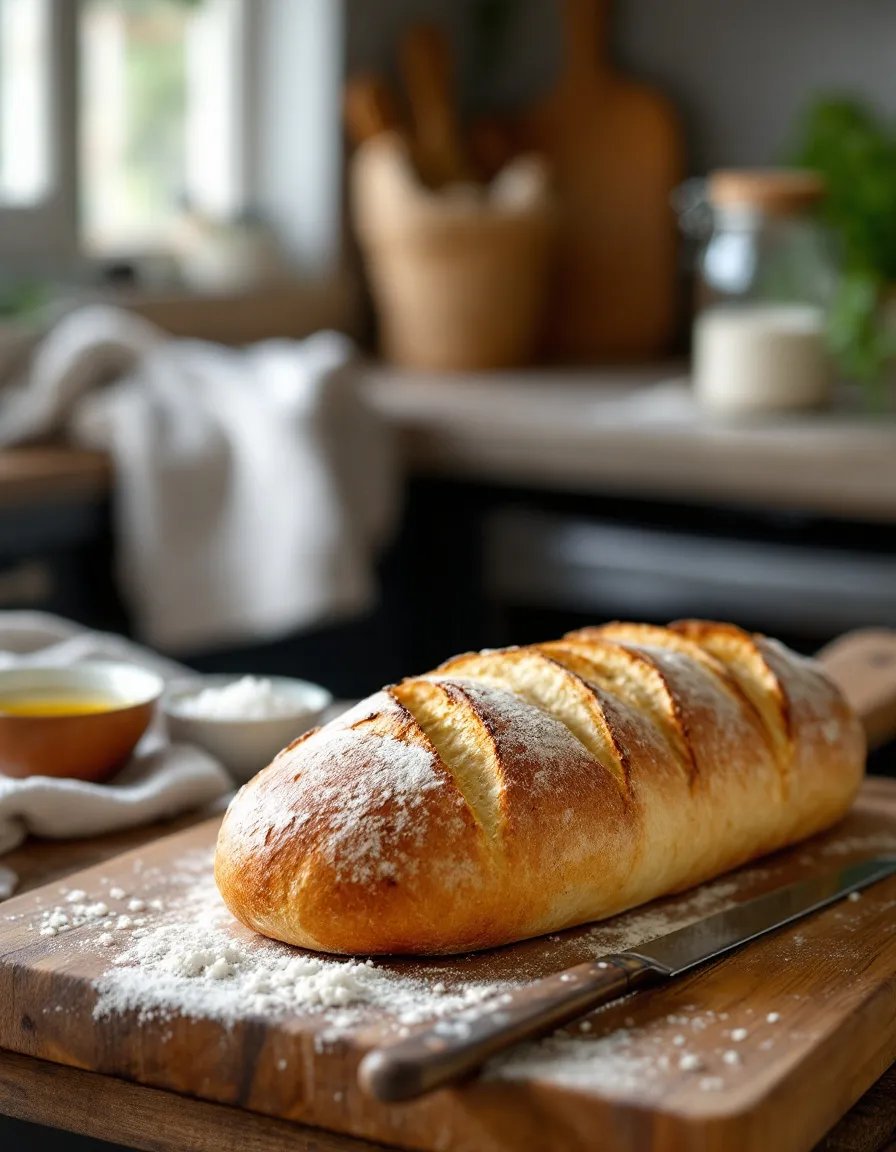
- Visual Appeal: Rustic, artisanal look with a beautiful golden-brown crust and irregular air pockets.
- Skill Level Needed: Perfect for absolute beginners – no kneading or special skills required.
- Special Equipment: Just a mixing bowl, spoon, and baking pan – no stand mixer or bread machine needed.
Recipe Overview
- Difficulty Level: This is one of the simplest bread recipes you’ll find, requiring minimal hands-on time and no complicated techniques. Even children can help make this easy homemade bread.
- Category: Basic staple, everyday baking, budget-friendly meals.
- Cuisine: Universal bread recipe with roots in peasant cooking traditions worldwide.
- Cost: Approximately $0.50 per loaf, making it one of the most economical homemade bread recipes.
- Season: Perfect year-round, though baking times may vary slightly with seasonal temperature changes.
- Occasion: Ideal for daily meals, last-minute entertaining, or as a thoughtful homemade gift.
Why You’ll Love This Recipe
The taste and texture of this easy homemade bread surpass anything you can buy at the supermarket. The slow fermentation develops complex flavors while the high hydration creates those desirable air pockets and chewy texture. Unlike mass-produced bread, this contains no preservatives or artificial ingredients.
Convenience is key with this recipe. With just 10 minutes of active prep time, you can have dough ready to bake. The no-knead method means you don’t need to spend time working the dough – the gluten develops naturally during the resting period. It’s the perfect solution when you need fresh bread but don’t have hours to devote to baking.
Nutritionally, this simple bread recipe is superior to store-bought versions. You control exactly what goes into it – just flour, water, yeast, and salt. No hidden sugars, conditioners, or additives. The slow rise makes the nutrients more bioavailable and easier to digest.
For entertaining, nothing impresses guests like pulling a fresh-baked loaf from your oven. The aroma alone creates a welcoming atmosphere. You can customize this basic recipe with herbs, cheese, or seeds to match your meal theme. It’s also a wonderful gift that shows care and thoughtfulness.
The cost-effectiveness of this cheap bread recipe can’t be overstated. At about 50 cents per loaf, it’s a fraction of the cost of artisanal bakery bread. Even compared to supermarket sandwich bread, you’ll save money while getting superior quality and flavor.
Ingredient Deep Dive
All-Purpose Flour
All-purpose flour forms the backbone of this easy bread recipe. Its moderate protein content (10-12%) creates the perfect balance between structure and tenderness. While bread flour can be used, all-purpose makes the recipe more accessible without sacrificing quality. For best results, fluff your flour before measuring to avoid dense bread.
Storage tip: Keep flour in an airtight container in a cool, dry place. For longer storage, freeze flour to prevent rancidity. Whole wheat flour can be substituted for up to half the all-purpose flour for more nutrition and flavor.
Active Dry Yeast
This microscopic fungus is the powerhouse behind your bread’s rise. Active dry yeast needs to be dissolved in water to activate, unlike instant yeast. One packet (about 2 1/4 teaspoons) is perfect for this recipe. Check the expiration date, as old yeast won’t produce enough gas to leaven your bread properly.
If your yeast doesn’t bubble after 5-10 minutes in warm water, it may be dead. Yeast thrives at 105-110°F – too hot will kill it, too cold won’t activate it properly. Store opened yeast in the refrigerator or freezer in an airtight container.
Common Mistakes to Avoid
- Measuring flour incorrectly: Scooping directly from the bag packs too much flour. Instead, spoon flour into your measuring cup and level it off.
- Using cold water: Yeast needs warm (not hot) water to activate properly. Aim for about 110°F – comfortably warm to the touch.
- Overproofing: While this dough is forgiving, letting it rise too long can cause collapse. Look for about doubled in size, not tripled.
- Underbaking: The crust should be deep golden brown. Tap the bottom – it should sound hollow when done.
- Cutting too soon: Let bread cool at least 30 minutes before slicing to prevent gummy texture.
Essential Techniques
Mixing the Dough
Proper mixing ensures even hydration and yeast distribution. Stir until no dry flour remains – the dough will be shaggy and sticky. Resist the urge to add more flour; the high hydration creates those desirable air pockets. Cover tightly to prevent drying during the rise.
The First Rise
This slow fermentation develops flavor and gluten. A warm spot (about 75°F) works best, but room temperature is fine. The dough should about double in size, showing visible bubbles when gently poked. If your kitchen is cold, the rise may take longer.
Pro Tips for Perfect Homemade Bread
- For extra flavor, let the dough rise overnight in the refrigerator. The cold slows yeast activity while developing more complex flavors.
- Create steam in your oven by placing a pan of water on the lower rack during baking. This helps develop a crispier crust.
- Let your oven preheat fully – at least 30 minutes – for consistent baking temperature.
- Use a digital scale for most accurate measurements, especially when scaling the recipe.
- For a softer crust, brush the baked loaf with butter while still warm.
Variations and Adaptations
Herb Bread
Add 2 tablespoons of your favorite dried herbs (rosemary, thyme, or Italian blend) to the dry ingredients. Fresh herbs can be added during shaping. This variation pairs beautifully with soups or makes exceptional sandwiches.
Cheese Bread
Fold in 1 cup of shredded cheese (cheddar, parmesan, or a blend) during the final shaping. The cheese creates pockets of gooey richness throughout the loaf. Perfect for grilled cheese or alongside pasta dishes.
Serving and Presentation Guide
Present your homemade bread on a wooden cutting board for rustic appeal. Score the top before baking for an artisanal look. For gatherings, pre-slice about three-quarters through the loaf so guests can easily tear off pieces. Serve warm with quality butter, olive oil, or your favorite spreads.
For special occasions, arrange bread slices in a basket lined with a linen napkin. Include small dishes of flavored oils, sea salt, and fresh herbs for dipping. Leftover bread makes excellent croutons or bread pudding.
Storage and Shelf Life
Store completely cooled bread in a paper bag at room temperature for up to 2 days. For longer storage, wrap tightly in foil and freeze for up to 3 months. Refresh frozen bread by warming in a 350°F oven for 10 minutes. Avoid plastic bags, which make the crust soft.
Signs of spoilage include mold (discard immediately) or excessive dryness (can be revived by sprinkling with water and reheating). Stale bread makes excellent toast, breadcrumbs, or strata.
Frequently Asked Questions
Can I use instant yeast instead of active dry?
Yes, you can substitute instant yeast 1:1. Since it doesn’t need dissolving, you can mix it directly with the dry ingredients. The rising time may be slightly shorter with instant yeast.
Why didn’t my bread rise properly?
Common causes include expired yeast, water that was too hot (killed the yeast) or too cold (didn’t activate it), or a very cold rising environment. Check your yeast freshness and ensure your water is about 110°F.
Can I make this without yeast?
For a yeast-free version, you can try using baking powder and baking soda (1 teaspoon each), though the texture will be more like quick bread than traditional loaf bread.
The Recipe
The Easiest and Cheapest Bread
Serves: 1 loaf
Prep Time: 10 mins
Cook Time: 30 mins
Total Time: 40 mins
Kitchen Equipment Needed
- Large mixing bowl
- Wooden spoon or silicone spatula
- Measuring cups and spoons
- Baking sheet or loaf pan
- Clean kitchen towel
Ingredients
- 3 cups (360g) all-purpose flour
- 1 1/4 cups (300ml) warm water (about 110°F)
- 1 packet (2 1/4 tsp) active dry yeast
- 1 1/2 teaspoons salt
- 1 teaspoon sugar (optional, helps yeast activate)
Directions
- In a small bowl, dissolve yeast and sugar (if using) in warm water. Let sit 5-10 minutes until foamy.
- In a large bowl, whisk together flour and salt.
- Pour yeast mixture into flour mixture. Stir until a shaggy dough forms.
- Cover bowl with a damp towel and let rise in a warm place for 1-2 hours, until doubled.
- Preheat oven to 425°F (220°C). Gently shape dough into a round or oval on a floured surface.
- Transfer to a baking sheet. Optional: Score top with a sharp knife.
- Bake 25-30 minutes until deep golden brown and hollow-sounding when tapped.
- Cool on a wire rack at least 30 minutes before slicing.
Recipe Notes
- For whole wheat version: Substitute up to half the flour with whole wheat.
- Add-ins: Try 1/2 cup chopped nuts, seeds, or dried fruit during mixing.
- Overnight option: Refrigerate dough after mixing and let rise slowly for 12-18 hours.