🌸 Easter Jell-O Pie – Best Easy Easter Dessert Recipe 🍰
Easter is a time for celebration, family gatherings, and, of course, delicious desserts. This Easter Jell-O Pie is the perfect addition to your holiday table, combining vibrant colors, refreshing flavors, and a creamy texture that everyone will love. Whether you’re hosting a big Easter brunch or a cozy family dinner, this dessert is sure to impress. With its simple preparation and eye-catching presentation, it’s a treat that both kids and adults will enjoy.
This Easter Jell-O Pie recipe is not only easy to make but also incredibly versatile. You can customize the colors and flavors to match your Easter theme, making it a fun and creative project for the whole family. The combination of fruity Jell-O and creamy filling creates a delightful contrast that melts in your mouth. Plus, it’s a no-bake dessert, so you can spend less time in the kitchen and more time celebrating with your loved ones.
Quick Recipe Highlights
- Flavor Profile: A perfect balance of sweet and tangy, with fruity Jell-O layers and a creamy, smooth filling.
- Texture: Silky and smooth with a slight jiggle from the Jell-O, creating a fun and satisfying mouthfeel.
- Aroma: Light and refreshing, with hints of fruit and vanilla from the creamy layer.
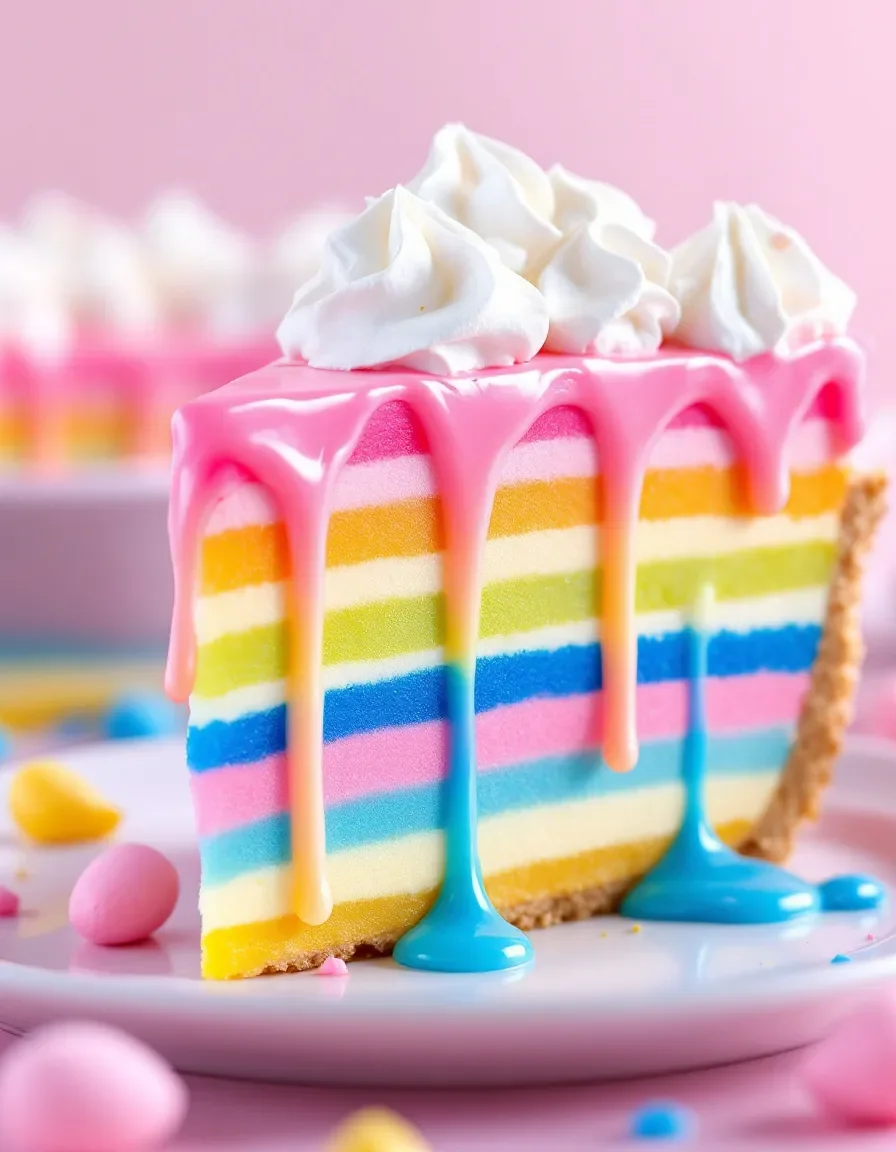
- Visual Appeal: Bright, colorful layers make this pie a showstopper on any Easter table.
- Skill Level Needed: Beginner-friendly, with simple steps and no baking required.
- Special Equipment: A 9-inch pie dish and a whisk are all you need to create this stunning dessert.
Recipe Overview
- Difficulty Level: This recipe is perfect for beginners, requiring minimal effort and no advanced techniques. It’s a great way to introduce kids to baking and dessert-making.
- Category: Dessert, perfect for holidays, parties, or family gatherings.
- Cuisine: A modern American dessert with a playful twist on classic Jell-O recipes.
- Cost: Budget-friendly, using simple ingredients that are easy to find at any grocery store.
- Season: Ideal for spring and Easter celebrations, but can be enjoyed year-round with seasonal color variations.
- Occasion: Perfect for Easter, potlucks, baby showers, or any festive occasion.
Why You’ll Love This Recipe
This Easter Jell-O Pie is a crowd-pleaser for so many reasons. First, its vibrant colors and layered presentation make it a feast for the eyes. The combination of fruity Jell-O and creamy filling creates a delightful contrast in both flavor and texture. It’s light and refreshing, making it the perfect dessert after a hearty Easter meal.
Another reason to love this recipe is its simplicity. With just a few ingredients and no baking required, it’s a stress-free dessert that anyone can make. It’s also highly customizable—you can use your favorite Jell-O flavors and colors to match your Easter theme or personal preferences. Plus, it’s a great make-ahead dessert, allowing you to focus on other aspects of your holiday preparations.
Nutritionally, this dessert is a fun treat that can be enjoyed in moderation. While it’s not a health food, it’s lighter than many traditional Easter desserts, making it a guilt-free indulgence. The gelatin in the Jell-O also provides a small boost of protein, which is a nice bonus.
Socially, this pie is a conversation starter. Its bright colors and unique layers are sure to draw attention and compliments from your guests. It’s also a great way to involve kids in the kitchen, as they’ll love helping to create the colorful layers.
Finally, this recipe is cost-effective and accessible. The ingredients are affordable and easy to find, making it a budget-friendly option for any occasion. Whether you’re hosting a large gathering or a small family dinner, this Easter Jell-O Pie is a dessert that everyone can enjoy.
Historical Background and Cultural Significance
Jell-O has been a beloved American dessert since its invention in the late 19th century. Its versatility and ease of preparation made it a staple in households across the country. Over the years, creative cooks have found countless ways to incorporate Jell-O into desserts, salads, and even main dishes. This Easter Jell-O Pie is a modern twist on the classic Jell-O mold, combining traditional flavors with a creamy, layered presentation.
Easter itself is a holiday rich in tradition and symbolism, often celebrated with festive foods and desserts. The bright colors of this pie reflect the joy and renewal associated with the season, making it a fitting addition to any Easter celebration. While Jell-O pies may not have a long historical background, they embody the spirit of innovation and creativity that has always been a part of American culinary culture.
Ingredient Deep Dive
Jell-O
Jell-O is the star of this recipe, providing both flavor and vibrant color. Gelatin, the main ingredient in Jell-O, has been used for centuries as a thickening agent. It’s derived from collagen, a protein found in animal bones and connective tissues. Gelatin is known for its health benefits, including supporting joint health and improving skin elasticity. When selecting Jell-O, choose your favorite flavors and colors to match your theme. Store unopened boxes in a cool, dry place.
Whipped Topping
The creamy layer in this pie is made with whipped topping, which adds a light and airy texture. Whipped topping is a convenient alternative to homemade whipped cream, offering a similar taste and texture with less effort. It’s typically made from a combination of hydrogenated vegetable oil, high fructose corn syrup, and stabilizers. For a healthier option, you can use homemade whipped cream or a dairy-free alternative. Store whipped topping in the freezer and thaw before use.
Graham Cracker Crust
The graham cracker crust provides a sweet and crunchy base for the pie. Graham crackers were invented in the 19th century as part of a health food movement, but they’ve since become a popular ingredient in desserts. The crust is made by combining crushed graham crackers with butter and sugar, then pressing the mixture into a pie dish. You can use store-bought crusts for convenience or make your own for a fresher taste. Store crusts in an airtight container to maintain their crispness.
Common Mistakes to Avoid
- Not allowing the Jell-O to set properly before adding the next layer. This can cause the layers to mix and lose their distinct appearance.
- Using warm Jell-O mixture, which can melt the whipped topping and create a runny filling.
- Overmixing the whipped topping, which can cause it to lose its light and airy texture.
- Not chilling the pie long enough before serving, resulting in a soft and unstable dessert.
- Using a pie dish that’s too small, causing the layers to overflow or not set evenly.
- Adding too much liquid to the Jell-O, which can prevent it from setting properly.
- Skipping the step of greasing the pie dish, making it difficult to remove slices cleanly.
- Not tasting the Jell-O mixture before setting, which can result in an overly sweet or bland dessert.
Essential Techniques
Layering Jell-O
Layering Jell-O requires patience and precision. Start by preparing the first layer according to the package instructions, then pour it into the pie dish and refrigerate until set. Repeat the process for each layer, allowing enough time for each to set before adding the next. This ensures clean, distinct layers that look as good as they taste.
Whipping the Topping
Whipped topping should be light and fluffy, not dense or runny. If using store-bought topping, make sure it’s fully thawed before mixing. For homemade whipped cream, chill the bowl and beaters beforehand to achieve the best texture. Whip the cream until soft peaks form, being careful not to overmix.
Pro Tips for Perfect Easter Jell-O Pie
- Use a clear glass pie dish to showcase the colorful layers.
- Chill the pie dish before adding the first layer to help the Jell-O set faster.
- Add a thin layer of whipped topping between Jell-O layers for a creamier texture.
- Experiment with different Jell-O flavors and colors to create unique variations.
- Garnish with fresh fruit or edible flowers for an extra festive touch.
- Allow the pie to chill overnight for the best results.
Variations and Adaptations
Seasonal Adaptations
For different seasons, adjust the Jell-O colors and flavors to match the theme. For example, use red and green for Christmas or orange and black for Halloween.
Dietary Modifications
To make this recipe vegan, use plant-based gelatin and dairy-free whipped topping. For a low-sugar version, opt for sugar-free Jell-O and whipped topping.
Serving and Presentation Guide
Serve this pie chilled, straight from the refrigerator. Use a sharp knife dipped in warm water to cut clean slices. Garnish with fresh berries, mint leaves, or a dollop of whipped cream for an elegant presentation.
Wine and Beverage Pairing
Pair this dessert with a light and fruity wine, such as Moscato or Riesling. For non-alcoholic options, try sparkling water with a splash of fruit juice or a cup of herbal tea.
Storage and Shelf Life
Store the pie in the refrigerator, covered with plastic wrap or in an airtight container. It will keep for up to 3 days. Avoid freezing, as the texture may become grainy.
Make Ahead Strategies
This pie is perfect for making ahead. Prepare it the day before your event and let it chill overnight. Add garnishes just before serving to keep them fresh.
Scaling Instructions
To double the recipe, use two pie dishes or a larger baking pan. Adjust the chilling time as needed to ensure each layer sets properly.
Nutritional Deep Dive
This dessert is a fun treat but should be enjoyed in moderation. Each slice contains approximately 200 calories, with most coming from sugar and fat. Gelatin provides a small amount of protein, while the whipped topping adds a creamy texture.
Dietary Adaptations
Gluten-Free
Use a gluten-free graham cracker crust or make your own with gluten-free cookies.
Dairy-Free
Substitute the whipped topping with a dairy-free alternative, such as coconut whipped cream.
Troubleshooting Guide
Texture Issues
If the pie is too soft, chill it longer. If the layers mix, ensure each layer is fully set before adding the next.
Flavor Balance
Adjust the sweetness by using less sugar in the crust or opting for sugar-free Jell-O.
Recipe Success Stories
Many readers have shared their success with this recipe, praising its simplicity and stunning presentation. One reader even used it as the centerpiece for her Easter brunch, receiving countless compliments from her guests.
Frequently Asked Questions
Can I use fresh fruit in this recipe?
Yes, you can add fresh fruit between the layers for extra flavor and texture. Just make sure the fruit is well-drained to prevent excess moisture.
Can I make this pie ahead of time?
Absolutely! This pie is perfect for making ahead. Prepare it the day before and let it chill overnight for the best results.
Additional Resources
For more Easter dessert ideas, check out our recipes for carrot cake, lemon bars, and chocolate nests. These treats are sure to make your holiday table even more festive.
Join the Conversation
We’d love to see your creations! Share your Easter Jell-O Pie photos on social media and tag us for a chance to be featured. Don’t forget to leave a review and let us know how your pie turned out.
The Recipe
Easter Jell-O Pie
Serves: 8
Prep Time: 20 mins
Cook Time: 10 mins
Total Time: 30 mins
Kitchen Equipment Needed
- 9-inch pie dish
- Whisk
- Mixing bowls
- Measuring cups and spoons
Ingredients
- 1 package (3 oz) Jell-O (your choice of flavor)
- 1 cup boiling water
- 1 cup cold water
- 1 cup whipped topping
- 1 pre-made graham cracker crust
Directions
- Dissolve the Jell-O in boiling water, stirring until fully dissolved.
- Add cold water and stir to combine.
- Pour half of the Jell-O mixture into the pie crust and refrigerate until set (about 1 hour).
- Spread a layer of whipped topping over the set Jell-O.
- Pour the remaining Jell-O mixture over the whipped topping and refrigerate until fully set (about 2 hours).
- Serve chilled and enjoy!
Recipe Notes
- For a creamier texture, mix a small amount of whipped topping into the Jell-O before setting.
- Customize the colors and flavors to match your Easter theme.