Homemade Cherry Ice Cream: A Sweet Summer Delight
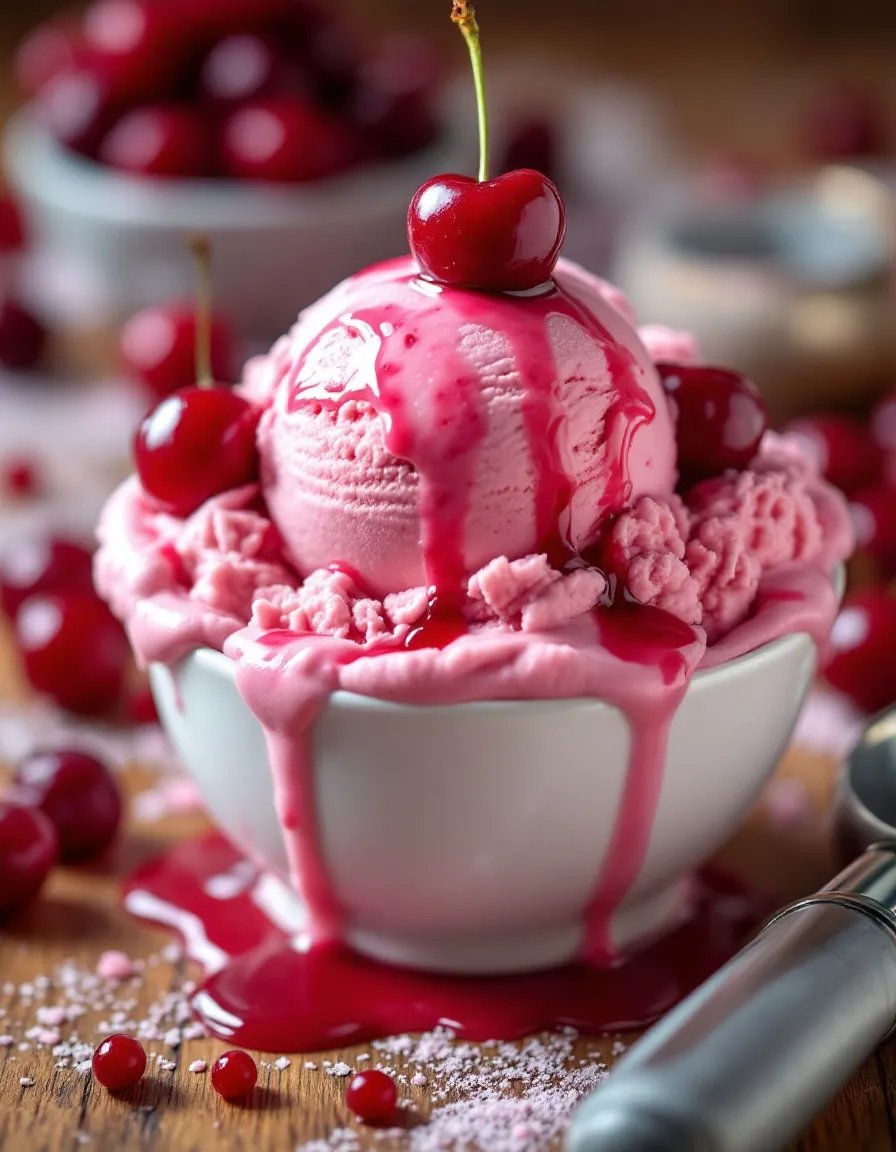
There’s nothing quite like the taste of homemade cherry ice cream on a warm summer day. This delightful frozen treat combines the natural sweetness of fresh cherries with creamy, velvety custard for a dessert that’s both refreshing and indulgent. The vibrant pink hue and fruity aroma will transport you to cherry orchards in full bloom, while the rich texture melts perfectly on your tongue.
Making your own cherry ice cream allows you to control the quality of ingredients and customize the flavor to your preference. Unlike store-bought versions, this recipe lets the true essence of cherries shine through without artificial flavors or excessive sweetness. Whether you’re using fresh summer cherries or high-quality frozen ones, this homemade cherry ice cream will become your new favorite dessert for backyard barbecues, family gatherings, or simply treating yourself after a long day.
Quick Recipe Highlights
- Flavor Profile: Sweet-tart cherry flavor balanced with creamy vanilla notes and a hint of almond essence
- Texture: Ultra-creamy with small bursts of juicy cherry pieces throughout
- Aroma: Fresh cherry fragrance with warm vanilla undertones
- Visual Appeal: Beautiful pale pink color with visible cherry flecks
- Skill Level Needed: Beginner-friendly with simple techniques
- Special Equipment: Ice cream maker recommended but not required
Recipe Overview
- Difficulty Level: This homemade cherry ice cream recipe is perfect for beginners, with straightforward steps and common ingredients. The most challenging part is patience while waiting for the custard to chill and the ice cream to freeze.
- Category: Dessert, Frozen Treat, Summer Recipe
- Cuisine: American with influences from traditional French custard-based ice creams
- Cost: Moderate, using seasonal cherries when available keeps costs down
- Season: Perfect for summer when cherries are at their peak, but can be made year-round with frozen cherries
- Occasion: Ideal for summer parties, picnics, or as a refreshing dessert after grilled meals
Why You’ll Love This Homemade Cherry Ice Cream
The taste of this cherry ice cream is simply unmatched by store-bought versions. The combination of fresh cherry puree with rich custard creates a perfect balance of fruity and creamy flavors. Each spoonful delivers the authentic taste of summer cherries without artificial aftertastes or excessive sweetness. The texture is luxuriously smooth yet substantial enough to satisfy your ice cream cravings.
Preparation is surprisingly simple for such an impressive dessert. With just a few basic ingredients and some patience during the freezing process, you can create a gourmet-quality frozen treat in your own kitchen. The recipe is flexible too – you can adjust the cherry-to-cream ratio based on your preference for fruit intensity.
Nutritionally, this homemade version offers benefits over commercial ice creams. You control the sugar content and can use organic dairy if preferred. Cherries themselves are packed with antioxidants and anti-inflammatory compounds, making this a slightly healthier indulgence. The recipe contains no artificial preservatives or stabilizers.
For entertaining, this cherry ice cream makes a beautiful presentation. Serve it in vintage sundae glasses with fresh cherries on top, or between homemade waffle cones for a nostalgic treat. It’s always a conversation starter at gatherings when guests learn it’s homemade.
Cost-wise, making your own ice cream is surprisingly economical compared to premium store brands. A single batch yields about 1.5 quarts – enough for several servings or a small gathering. When cherries are in season, the cost per serving becomes even more reasonable.
The Recipe
Homemade Cherry Ice Cream
Serves: 6
Prep Time: 15 mins
Cook Time: 25 mins
Total Time: 40 mins
Kitchen Equipment Needed
- Ice cream maker
- Medium saucepan
- Mixing bowls
- Fine mesh strainer
- Blender or food processor
- Rubber spatula
- Airtight container for freezing
Ingredients
- 2 cups fresh cherries, pitted and halved (or frozen if fresh unavailable)
- 1 cup whole milk
- 2 cups heavy cream
- 3/4 cup granulated sugar
- Pinch of salt
- 4 large egg yolks
- 1 teaspoon vanilla extract
- 1/4 teaspoon almond extract (optional)
- 1 tablespoon lemon juice
Directions
- In a blender or food processor, puree 1 cup of the cherries until smooth. Set aside.
- In a medium saucepan over medium heat, combine milk, 1 cup of the cream, sugar, and salt. Heat until steaming but not boiling, stirring occasionally.
- In a separate bowl, whisk the egg yolks. Slowly pour about 1 cup of the warm milk mixture into the yolks while whisking constantly to temper them.
- Pour the yolk mixture back into the saucepan with the remaining milk mixture. Cook over low heat, stirring constantly, until the mixture thickens enough to coat the back of a spoon (about 170°F).
- Remove from heat and strain through a fine mesh sieve into a clean bowl. Stir in the remaining 1 cup cream, vanilla extract, almond extract (if using), and lemon juice.
- Stir in the cherry puree and remaining chopped cherries. Cover and refrigerate until completely chilled (at least 4 hours or overnight).
- Churn in an ice cream maker according to manufacturer’s instructions (about 20-25 minutes).
- Transfer to an airtight container and freeze for at least 4 hours before serving.
Recipe Notes
- For a smoother texture, strain the cherry puree before adding to the custard.
- If you don’t have an ice cream maker, you can freeze the mixture in a shallow pan, stirring every 30 minutes until set.
- Adjust sugar based on sweetness of your cherries – taste the puree before adding to custard.