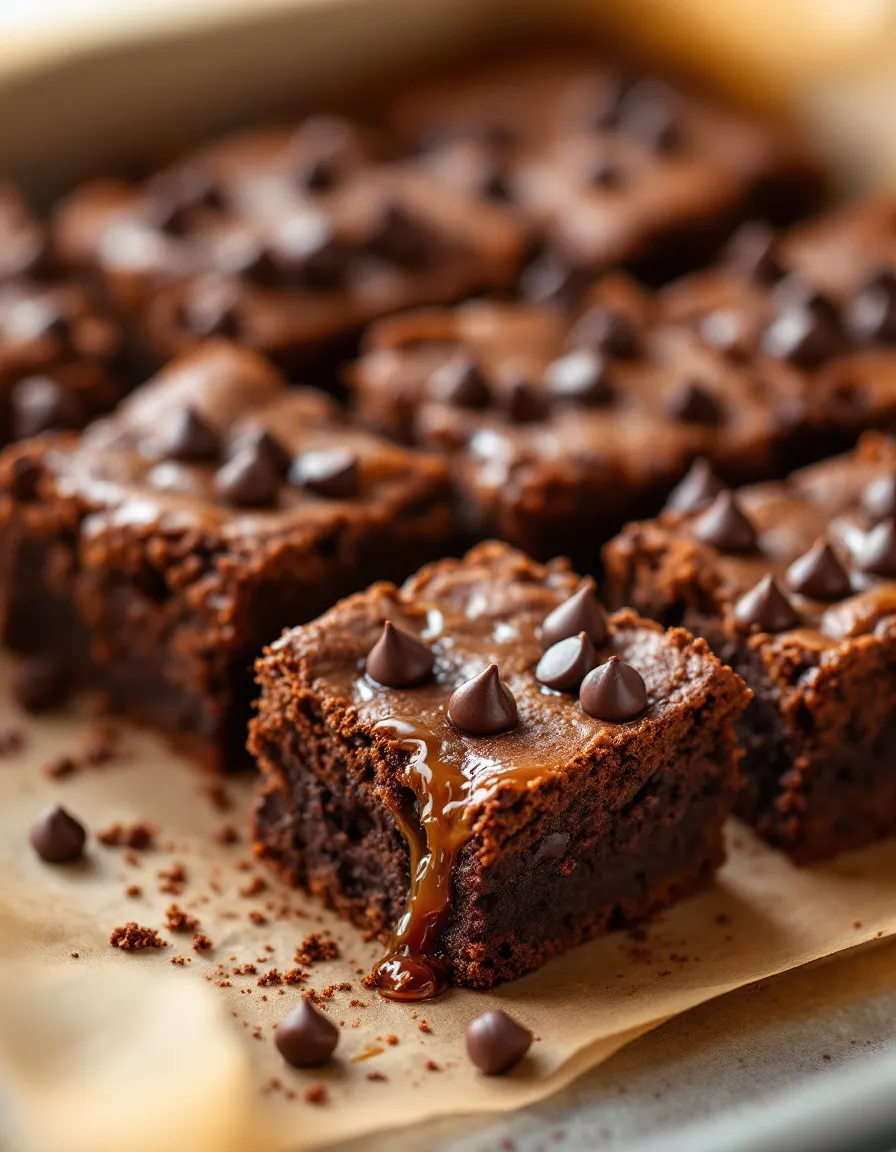
Homemade No-Bake Twix Cheesecake: A Deliciously Decadent Twist
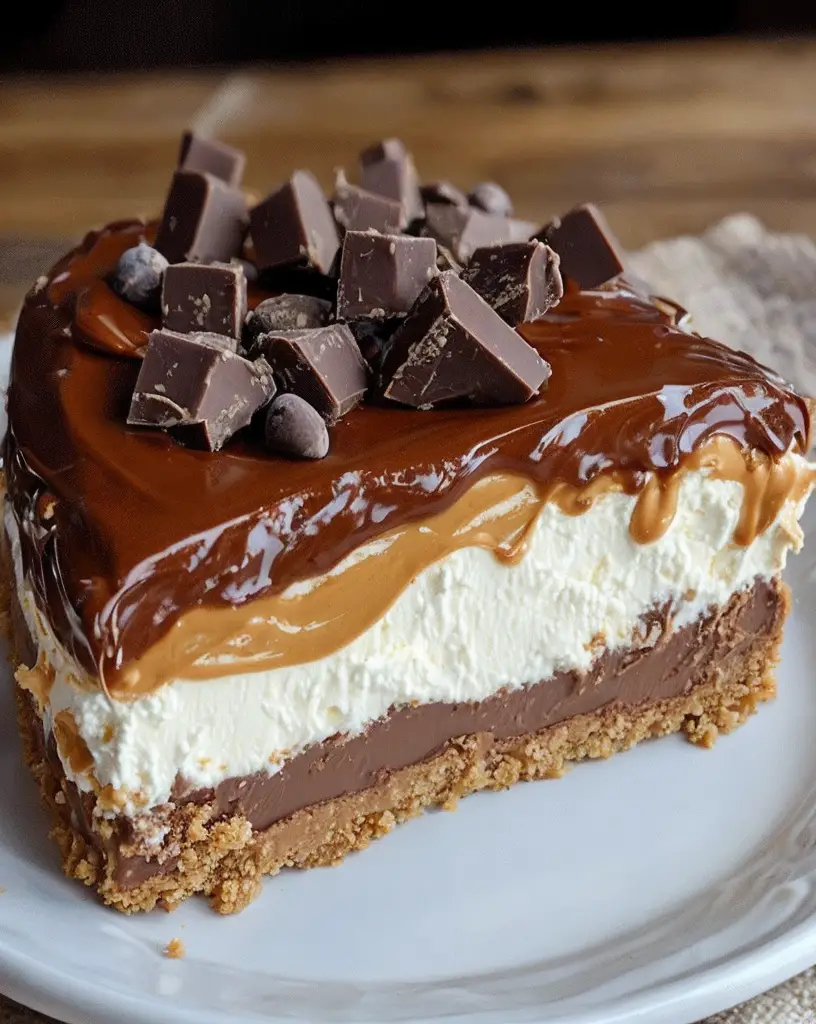
Indulge in a dessert that combines the best of creamy cheesecake with the irresistible flavors of Twix bars in this Homemade No-Bake Twix Cheesecake. This decadent treat is the perfect blend of smoothness, crunch, and caramel delight, a perfect dessert for any occasion that will definitely be a hit among friends and family.
Why You’ll Love This Recipe
The Homemade No-Bake Twix Cheesecake is a feast for both the eyes and the palate, bursting with a tantalizing mix of textures and flavors. With no need for an oven, it’s a convenient and quick dessert solution that doesn’t compromise on taste. The rich, creamy filling, combined with a biscuit base and a decadent caramel and chocolate topping, will quickly make this a favorite for celebrations and gatherings.
Perfect for summer days when you want to keep your kitchen cool, this no-bake recipe allows you to enjoy a delectable dessert without breaking a sweat. Plus, it offers the authentic Twix flavor combination in a new, exciting form that all ages will love.
Context/Background
No-bake cheesecakes have their origin in the mid-century fascination with quick, easy, and fuss-free recipes. As refrigeration technology improved, so did the popularity of chilled desserts. This particular twist incorporates Twix, a beloved candy bar known for its perfect blend of chocolate, caramel, and biscuit, into a classic dessert form, bringing an inventive edge to traditional cheesecake recipes.
Recipe Details
Serves: 8-10
Prep Time: 20 minutes
Cook Time: 0 minutes
Total Time: 4 hours (including chilling)
Ingredients
- 200g digestive biscuits
- 100g unsalted butter, melted
- 400g cream cheese, softened
- 1 cup powdered sugar
- 1 teaspoon vanilla extract
- 1 cup heavy cream
- 200g Twix bars, roughly chopped
- Caramel sauce, for drizzling
- Chocolate sauce, for drizzling
Directions
- Crush the digestive biscuits into fine crumbs. Mix with melted butter until well combined.
- Press the mixture into the base of a springform pan, creating an even layer. Chill in the freezer for 10 minutes.
- In a large bowl, beat cream cheese, powdered sugar, and vanilla extract until smooth and creamy.
- In another bowl, whip the heavy cream until stiff peaks form. Fold the whipped cream into the cream cheese mixture.
- Gently fold in half of the chopped Twix bars into the cheesecake mixture.
- Pour the filling over the chilled base, smoothing the top with a spatula.
- Chill the cheesecake in the refrigerator for at least 4 hours or overnight until set.
- Before serving, garnish with remaining Twix pieces, then drizzle with caramel and chocolate sauce.
Tips for Perfect Homemade No-Bake Twix Cheesecake
- Ensure cream cheese is softened at room temperature for a smoother filling.
- Chill the base adequately to prevent it from crumbling when adding the filling.
- Use a sharp knife heated in hot water to cut clean slices.
- Customize the cheesecake by incorporating other candy bars for varied flavors.
Serving Suggestions
This cheesecake pairs beautifully with a scoop of vanilla ice cream or a dollop of whipped cream. For a more indulgent treat, add a sprinkle of sea salt over the caramel for an enhanced flavor experience.
Storage and Leftovers
Keep leftovers covered in the refrigerator for up to 3 days. To preserve the best texture, avoid freezing the cheesecake.
Final Thoughts
Make your next dessert adventure a memorable one with this Homemade No-Bake Twix Cheesecake. Its rich textures and flavors are sure to leave a lasting impression, making it a perfect addition to your dessert repertoire. Take a bite, and let the harmony of caramel, chocolate, and cheesecake woo your taste buds.
Recipe Notes
- For a gluten-free version, use gluten-free biscuits for the base.
- You can replace Twix with other favorite chocolate bars.
- Consider adding a layer of your favorite jam for a fruitier twist.

