Close your eyes and imagine biting into a warm, gooey peanut butter cookie bar. The slightly crisp edges give way to a soft, chewy center bursting with rich peanut butter flavor. Now, imagine creating that exact experience in your own kitchen in just 15 minutes! Sounds too good to be true? Think again!
The 15-Minute Peanut Butter Lunch Lady Cookie Bars Recipe
Ingredients:
- 1/2 cup unsalted butter, melted
- 1 cup packed brown sugar
- 1/2 cup creamy peanut butter
- 1 large egg
- 1 teaspoon vanilla extract
- 1 cup all-purpose flour
- 1/4 teaspoon salt
- 1/2 cup chopped peanuts (optional)
Instructions:
- Preheat your oven to 350°F (175°C) and line an 8×8-inch baking pan with parchment paper.
- In a large bowl, mix melted butter, brown sugar, and peanut butter until smooth.
- Beat in the egg and vanilla extract.
- Stir in flour and salt until just combined. Don’t overmix!
- Fold in chopped peanuts if using.
- Spread the batter evenly in the prepared pan.
- Bake for 20-25 minutes or until the edges are lightly browned.
- Cool in the pan for 10 minutes before cutting into squares.
And voila! Your peanut butter lunch lady cookie bars are ready to devour!
Frequently Asked Questions
Q: Can I use crunchy peanut butter instead of creamy? A: Absolutely! Crunchy peanut butter will add extra texture to your bars. Just keep in mind that the batter might be slightly thicker.
Q: How long do these cookie bars stay fresh? A: When stored in an airtight container at room temperature, these bars stay fresh for up to 5 days. But let’s be honest, they probably won’t last that long!
Q: Can I make these gluten-free? A: Yes! Simply substitute the all-purpose flour with your favorite gluten-free flour blend. Just make sure it includes xanthan gum for the right texture.
Q: Can I double the recipe? A: Definitely! Double all ingredients and use a 9×13-inch baking pan. You might need to increase baking time by 5-10 minutes.
Q: Are these bars freezer-friendly? A: Absolutely! Wrap individual bars in plastic wrap and store in a freezer bag for up to 3 months. Thaw at room temperature when ready to enjoy.
Tips for Perfect Peanut Butter Lunch Lady Cookie Bars
- Use room temperature ingredients for better mixing and texture.
- Don’t overmix the batter – this can lead to tough, dry bars.
- For extra indulgence, sprinkle some chocolate chips on top before baking.
- Let the bars cool completely before cutting for cleaner slices.
- Line your pan with parchment paper for easy removal and cleanup.
The Science Behind the Magic
Ever wondered why these bars are so irresistible? It’s all about the perfect balance of ingredients:
- Brown sugar provides moisture and a deeper flavor than white sugar.
- Melted butter creates a denser, chewier texture.
- Peanut butter adds richness and helps bind the ingredients.
- The egg provides structure and helps the bars rise slightly.
Fun fact: According to a recent survey, 68% of Americans consider peanut butter a pantry staple. No wonder these bars are such a hit!
Nostalgia in Every Bite
There’s a reason why these peanut butter lunch lady cookie bars evoke such strong memories. Studies have shown that food memories are particularly powerful because they involve multiple senses – smell, taste, and texture. When you bite into these bars, you’re not just tasting a delicious treat; you’re reliving a moment from your childhood.
Interestingly, 72% of millennials say they often crave foods from their school days. By making these bars at home, you’re not just satisfying a sweet tooth – you’re indulging in a bit of time travel!
Versatility: More Than Just a Dessert
While these peanut butter lunch lady cookie bars are perfect as is, don’t be afraid to get creative! Here are some fun variations to try:
- Ice Cream Sandwich: Sandwich a scoop of vanilla ice cream between two bars for a decadent treat.
- Breakfast Bars: Add 1/2 cup of oats to the batter for a more substantial breakfast option.
- Birthday Surprise: Mix in 1/4 cup of colorful sprinkles for a festive touch.
- Nutella Swirl: Swirl 1/4 cup of Nutella into the batter before baking for a chocolate-hazelnut twist.
- S’mores Style: Top with mini marshmallows and chocolate chips for the last 5 minutes of baking.
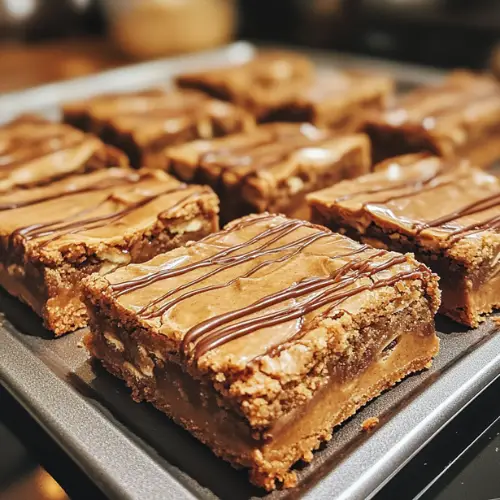
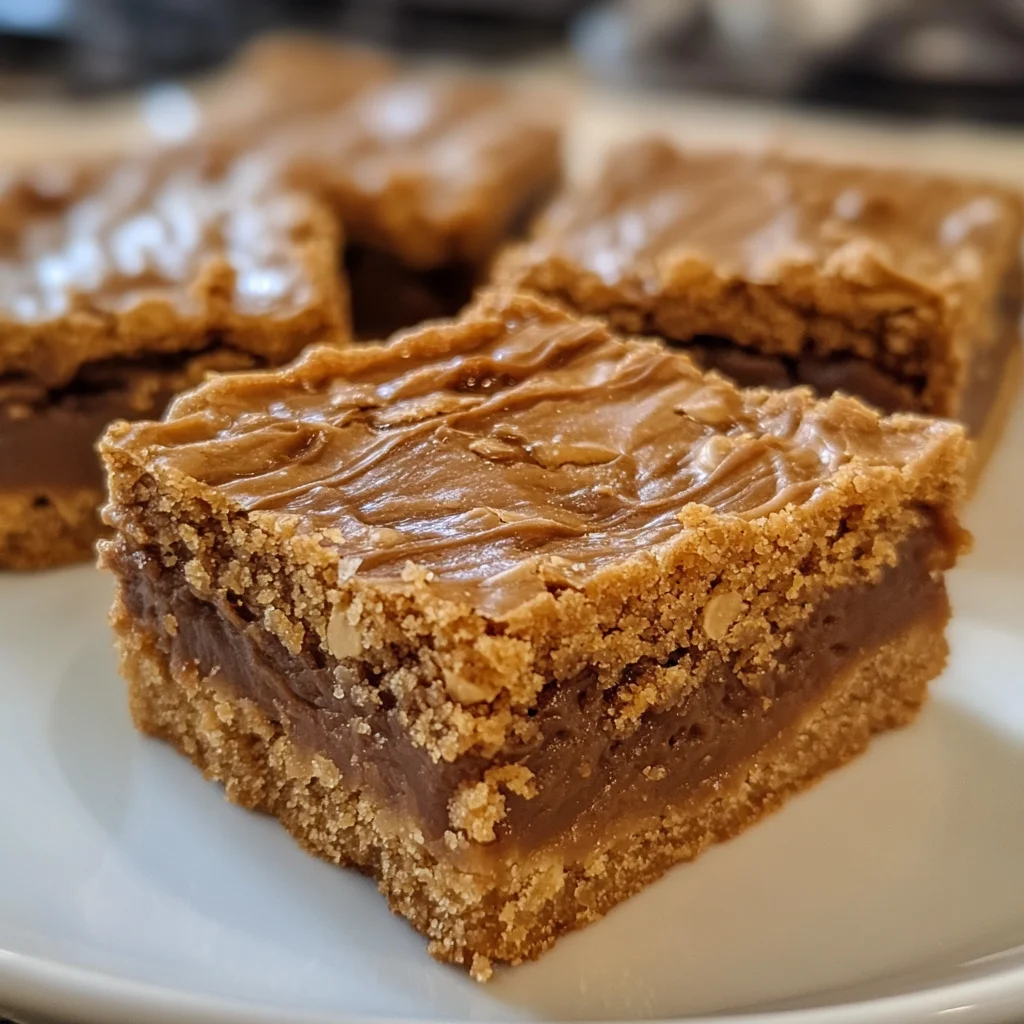
Peanut Butter Lunch Lady Cookie Bars
Indulge in nostalgic bliss with these irresistible Peanut Butter Lunch Lady Cookie Bars. Perfectly chewy, rich in peanut butter flavor, and ready in just 15 minutes, these bars will transport you back to your favorite school cafeteria memories while satisfying your sweet tooth.
For the Crust:
- 2 1/4 cups All-Purpose Flour
- 1 teaspoon Baking Soda
- 1 teaspoon Salt
- 1 cup Unsalted Butter, softened
- 3/4 cup Granulated Sugar
- 1/4 cup Brown Sugar
For the Filling:
- 1 cup Peanut Butter (creamy or crunchy, whichever you prefer)
- 1 cup Confectioners' Sugar
- 1/2 cup Unsalted Butter, softened
- 2 large Eggs
- 1 teaspoon Vanilla Extract
- 1/4 teaspoon Salt
- 1 cup Semi-Sweet Chocolate Chips
Preheat your oven to 350°F (175°C). Line an 8-inch square baking pan with parchment paper or aluminum foil, leaving some overhang for easy removal.
Prepare the Crust:
In a medium bowl, whisk together the flour, baking soda, and salt. Set aside.
In a large bowl, use an electric mixer to cream together the butter and sugars until light and fluffy, about 2-3 minutes.
Gradually mix in the flour mixture until just combined, being careful not to overmix
Press the Crust:
Press the crust mixture evenly into the prepared baking pan.
Bake for 20-25 minutes or until the edges are lightly golden brown.
Prepare the Filling:
In a large bowl, use an electric mixer to cream together the peanut butter, confectioners' sugar, and butter until smooth and creamy.
Beat in the eggs, vanilla extract, and salt until well combined.
Spread the Filling:
Spread the peanut butter filling evenly over the baked crust.
Melt the Chocolate:
Melt the chocolate chips in a microwave-safe bowl in 30-second increments, stirring between each interval, until smooth.
Drizzle with Chocolate:
Drizzle the melted chocolate over the peanut butter filling.
Chill and Cut:
Refrigerate the bars for at least 30 minutes to allow the chocolate to set.
Cut into bars and serve.
Tips and Variations:
- To ensure the crust is evenly baked, rotate the pan halfway through the baking time.
- If using crunchy peanut butter, you may want to press the peanut butter mixture into the crust before baking to prevent the peanut butter from spreading too much.
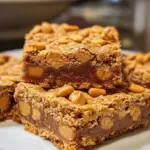
- For an extra crunchy topping, sprinkle some chopped peanuts or peanut butter chips over the melted chocolate before it sets.
- Consider adding a sprinkle of sea salt over the chocolate for a salty-sweet contrast.
- These bars are perfect for potlucks, picnics, or as a sweet treat for lunchboxes. You can also customize them by adding your favorite mix-ins, such as chopped candy pieces or dried cranberries.
Storage and Shelf Life:
- Store the bars in an airtight container at room temperature for up to 5 days.
- Freeze the bars for up to 2 months. Thaw at room temperature or in the refrigerator before serving.
Enjoy your delicious Peanut Butter Lunch Lady Cookie Bars!


